Deploy on Clever Cloud
This guide explains how to deploy your start-ui-v3 project to Clever Cloud using the Clever Tools CLI.
-
Create a new Clever Cloud application
-
Go to the Clever Console and select your personal organization or the organization where you want to create your app.
-
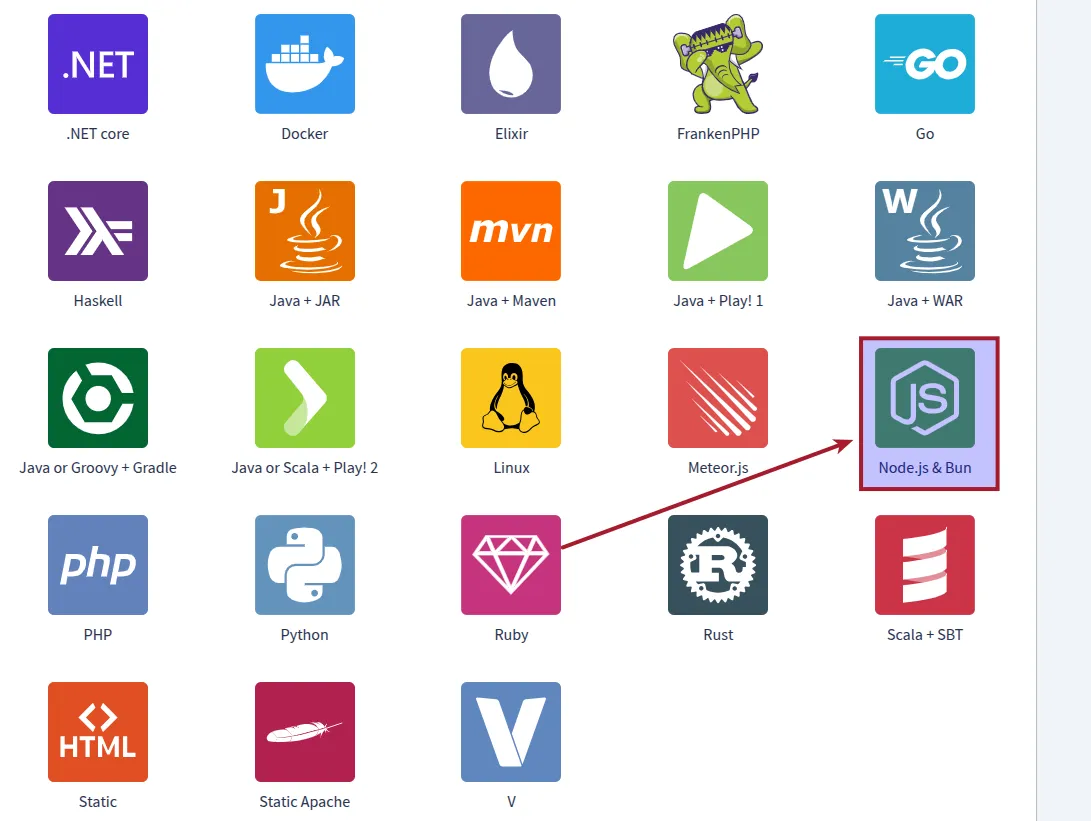
Click on “Create…” and select “an application”.

- Select “Create a brand new app”
- Select “NodeJS & Bun” as the template.
- Choose the recommended machine for your project, but you can edit it later.
- Give a name to your app (description is optional).
-
-
Configure environment variables
-
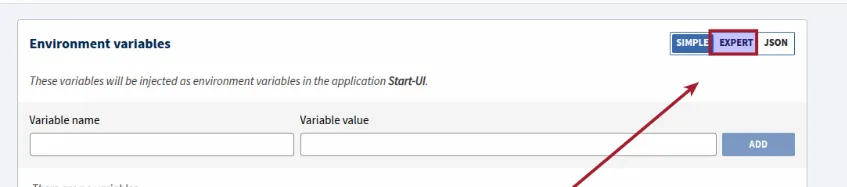
In the left sidebar, open your project and click Environment Variables.


-
At the top right, select the Expert tab.
-
Paste the environment variable template provided below.
-
Replace all variables as needed to match your project (including your domain)
-
Once done, switch back to the Simple view to see your variables listed.
# Clever Cloud variablesCC_CACHE_DEPENDENCIES="false"CC_CUSTOM_BUILD_TOOL="pnpm install && pnpm build"CC_NODE_BUILD_TOOL="custom"CC_NODE_DEV_DEPENDENCIES="install"CC_PRE_BUILD_HOOK="npm install -g pnpm"CC_RUN_COMMAND="pnpm start || (npm install -g pnpm && pnpm start)"# Start-UI required variablesAUTH_SECRET="REPLACE ME"AUTH_SESSION_EXPIRATION_IN_SECONDS="2592000"AUTH_SESSION_UPDATE_AGE_IN_SECONDS="86400"DATABASE_URL="REPLACE_ME"EMAIL_FROM="Start UI <noreply@example.com>"EMAIL_SERVER="smtp://your-smtp-server"NODE_ENV="production"GITHUB_CLIENT_ID="REPLACE ME" #optional if NODE_ENV != productionGITHUB_CLIENT_SECRET="REPLACE ME" #optional if NODE_ENV != productionVITE_BASE_URL="REPLACE ME"# OptionalVITE_ENV_NAME="PROD-STAGING-YOUR_ENV"VITE_PORT="3000"VITE_ENV_EMOJI="🚧"VITE_ENV_COLOR="gold"VITE_IS_DEMO="false"
-
-
Deploy your app:
- Open a terminal in your project
Terminal window npm install -g clever-toolsclever loginclever link app_YOUR_ID_APPclever deploy
🎉 Once the deployment command completes successfully, your app will be live on Clever Cloud !